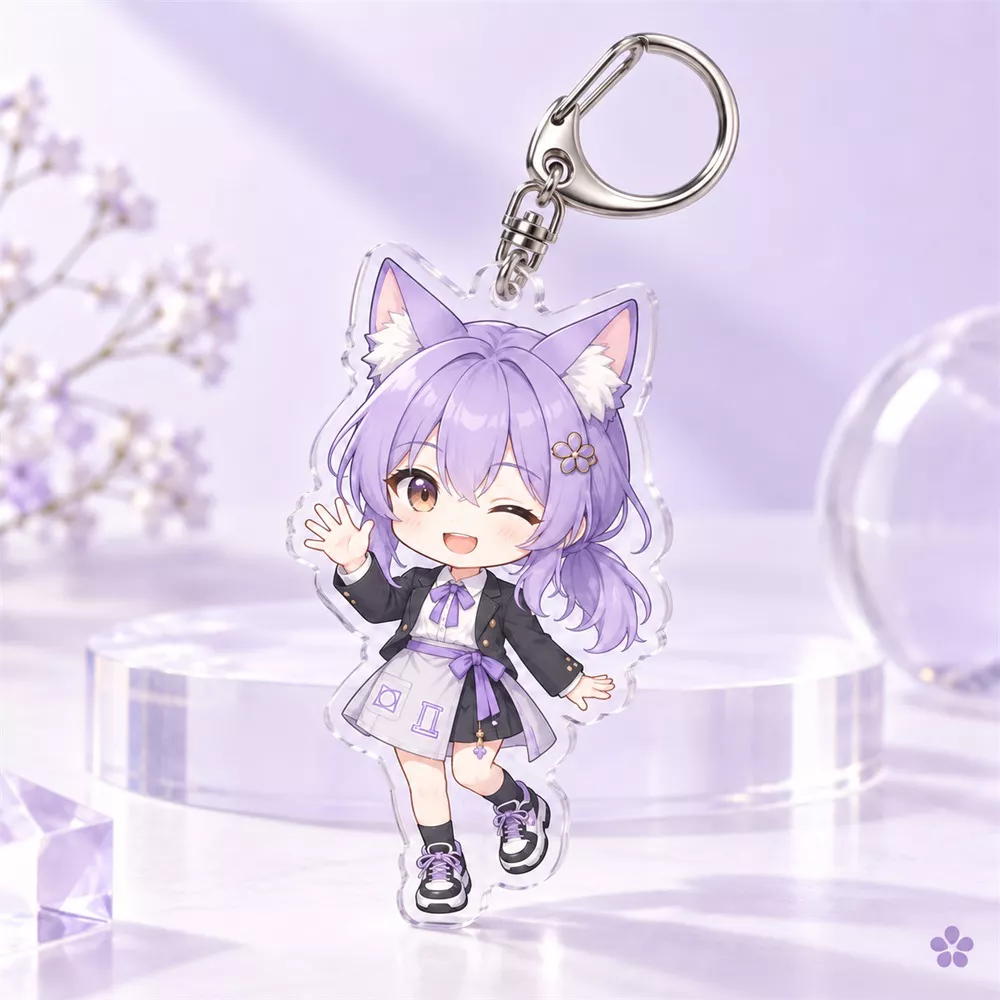
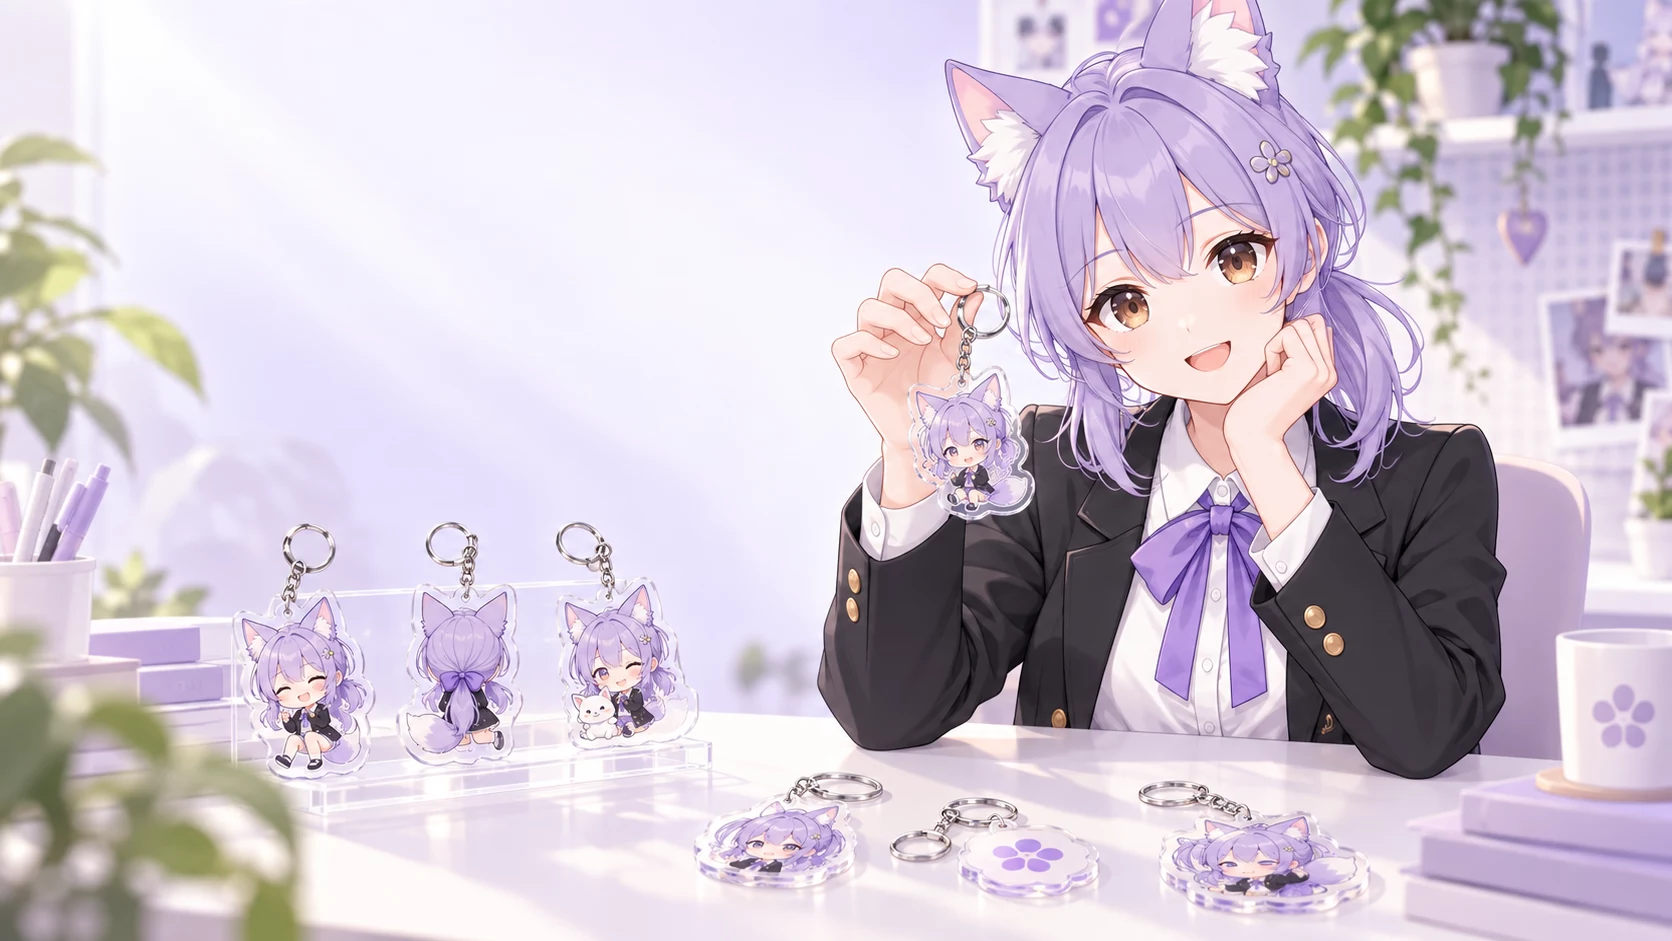
Acrylic keychains are small, but the size choice does a surprising amount of creative work. A compact charm can make an everyday bag feel personal; a larger one can read like a tiny piece of character art. The trick is choosing a format that supports the way your OC is drawn, the amount of detail you want to keep, and the price point you are planning for a drop.
This guide compares the four sizes available for Furola custom acrylic keychains: 4, 5, 6, and 7 cm. It is written for indie artists, OC creators, and small merch shops making a first run or refining an established collection.
Why acrylic keychain size matters
A keychain is seen at arm’s length, in motion, and often beside everything else on a bag or set of keys. That makes silhouette more important than microscopic detail. The right size gives your character enough presence without turning a practical accessory into something awkwardly heavy or visually crowded.
Start with the question: what should a stranger notice first? A face, a full outfit, a funny pose, a mascot symbol, or a group of tiny details? Your answer usually points to the size.
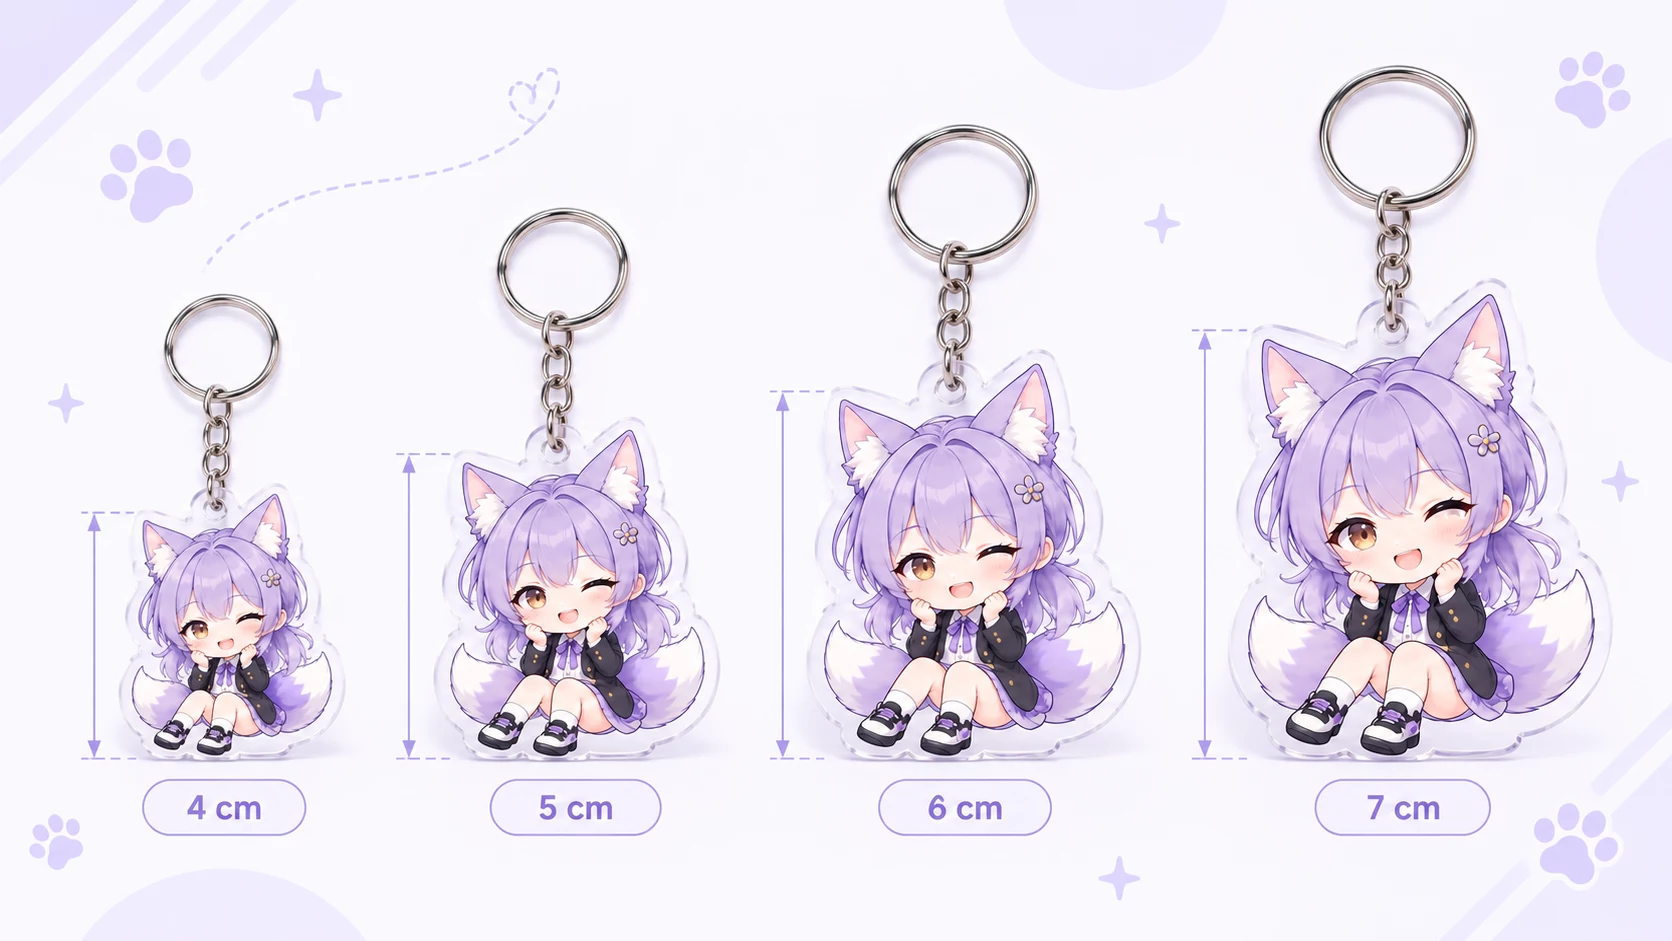
Size cheat sheet: 4 · 5 · 6 · 7 cm
4 cm: the easy add-on
Four centimetres is great for a face-focused chibi, a simple mascot, a logo-shaped charm, or a small preorder bonus. It feels light on a zipper pull or key ring and works nicely when you want several designs to collect. Keep the pose simple: large eyes, a clear outline, and one or two recognisable accessories will read better than a full illustrated scene.
5 cm: the everyday default
If you are unsure, 5 cm is a comfortable starting point. It gives a little more room for hair, hands, or a small prop while staying compact enough for daily use. Most chibi full-body drawings and clean bust portraits feel at home here.
6 cm: room for character
At 6 cm, a full-body OC can breathe. This is a strong choice for a more expressive pose, layered hair, a costume with identifiable features, or a small companion character. For a first “main” keychain design, it often strikes the nicest balance between artwork visibility and portability.
7 cm: the mini art piece
Seven centimetres makes the charm feel deliberately displayable. Use it for a detailed full-body illustration, a dramatic silhouette, a paired character design, or a statement piece in a limited collection. It is also useful when your art relies on costume shapes that would disappear at smaller sizes.
Full-body, half-body, or icon?
For 4–5 cm, favour a face, bust, or very simplified chibi. A full body can still work, but make the pose tall and graphic rather than full of overlapping limbs. For 6–7 cm, full-body art is much more forgiving, especially when the outfit is part of the character’s appeal.
If the expression is the selling point, crop closer. If the outfit, weapon, plush, or other prop tells the story, move up a size. A keychain does not need to reproduce every line in the original illustration; it needs to preserve the character at a glance.
How Furola acrylic keychains are built
Furola keychains use a single-layer print sealed in the middle of clear acrylic, with transparent acrylic on both sides. The artwork is protected within the piece rather than sitting as a one-sided surface print, so it remains clear and luminous when viewed from either side. The visible edges should be part of the design: leave enough breathing room for the acrylic outline to feel intentional.
Single-piece customisation is available, so you can test a design, make a personal sample, or start a small creator drop without building your entire plan around a large minimum order.
File prep that survives real-world size
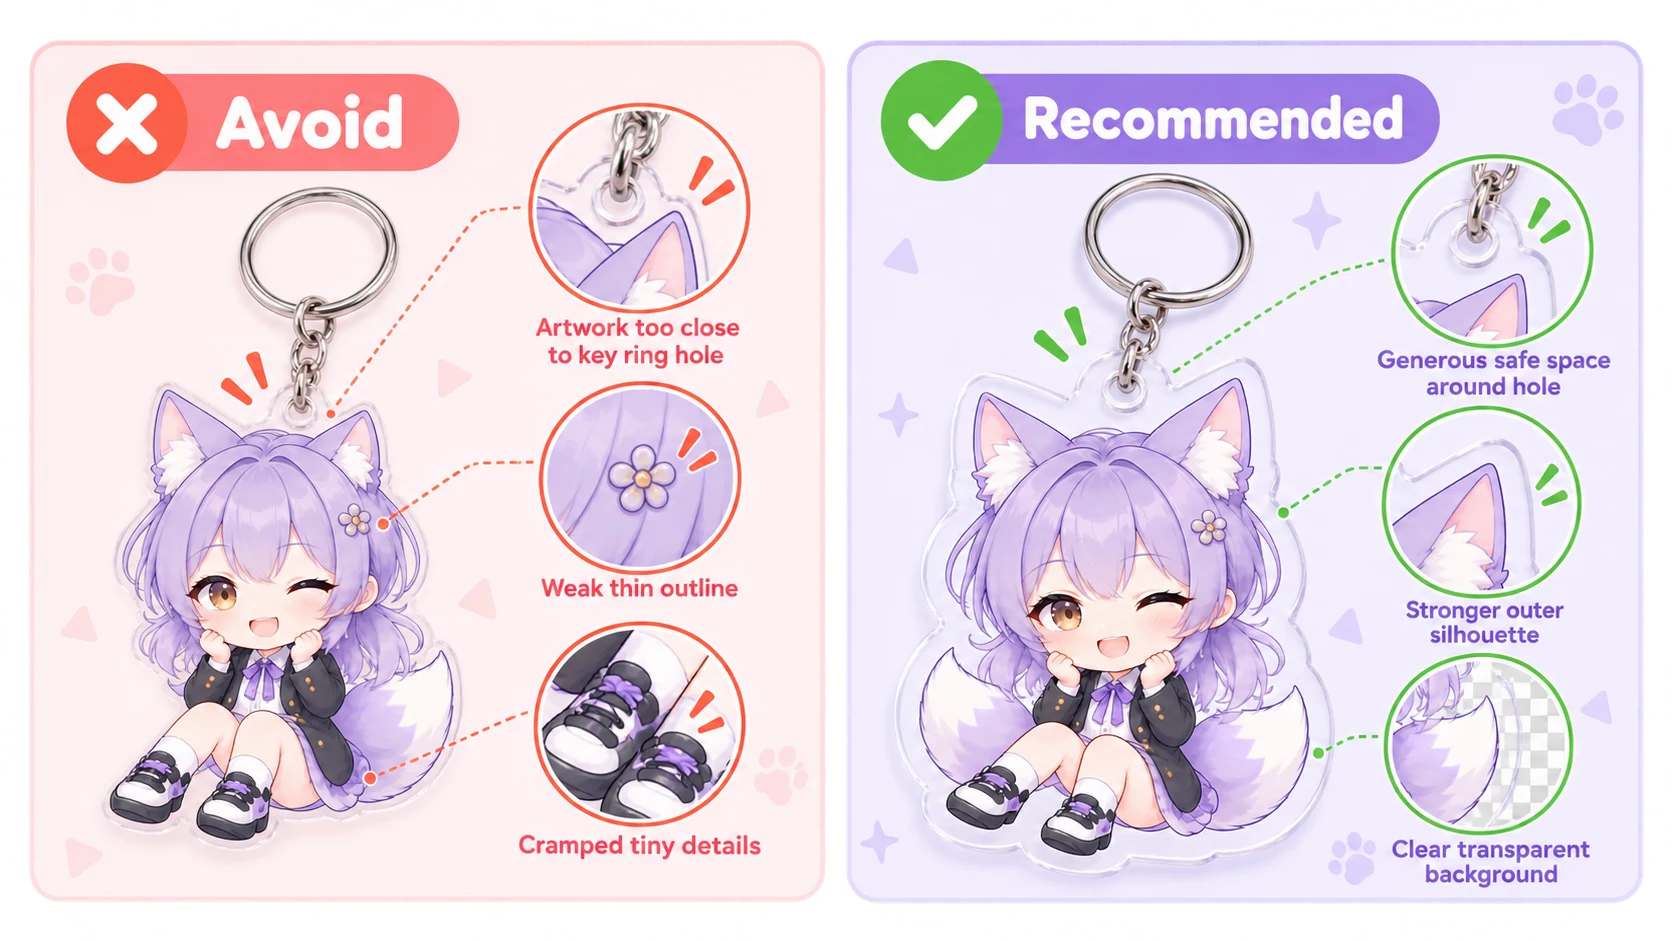
Export a transparent PNG from your original working file. A transparent background lets the final cut shape follow your character cleanly; a white rectangle behind the art usually looks accidental on a clear charm.
- Keep the silhouette strong. Hair tips, ears, props, and flowing shapes look best when they are not reduced to hairline-thin islands.
- Give the hole room. Do not place a face, tiny type, or important detail immediately beside the key-ring hole. Leave a calm buffer so the charm still feels balanced.
- Check at actual size. Zooming in is useful while drawing; zooming out is the useful reality check. If a detail is unreadable at the intended size, simplify it.
- Avoid tiny text. A short name or symbol can work. A full sentence is better saved for the backing card or listing image.
- Use crisp source art. Start from a high-resolution original rather than enlarging a small screenshot.
Plan the cut edge, not just the illustration
Think of the clear acrylic border as a small frame. A little safe space around the outer contour makes the piece feel smoother and more premium. Extremely narrow projections can be fragile-looking, while a clean shape with a confident outline tends to read beautifully from every angle.
If your character has lots of separate floating pieces, consider whether they belong inside one unified silhouette. A cape, tail, cloud, or simple decorative shape can help connect the composition without losing the character’s personality.
Packaging and a small preorder checklist
Before you open a preorder, make one practical pass through the production file and listing plan:
- Choose one of the 4 / 5 / 6 / 7 cm options based on the final artwork, not only on the canvas size.
- Confirm that you own or have permission to use every part of the submitted artwork.
- Export the final transparent PNG from the original source file and keep an editable backup.
- Check the hole area, small lines, and any readable text at the intended physical scale.
- Use a clear mockup or sample image in the product listing so buyers understand the charm’s proportions.
Common mistakes to avoid
The most common problem is trying to make a tiny charm carry a full poster’s worth of information. Busy backgrounds, long text, and delicate linework can all be lovely in a print and still become hard to read on a keychain. Let the main character shape lead; save secondary lore for the card, listing, or a larger companion product.
Another easy miss is forgetting the hardware zone. The ring is part of the object, not an afterthought. Design with it from the beginning and the final charm will look more considered.
Ready to turn an OC into a charm?
A 5 or 6 cm design is a reassuring place to begin for most original characters, while 4 cm excels at collectible minis and 7 cm gives detailed artwork more stage presence. Once you have chosen the scale, keep the silhouette clean and let the clear acrylic edge do its quiet framing work.
Explore custom acrylic keychains at Furola when you are ready to turn your character art into a polished piece of merch.
More creator merch guides
Building a wider collection? Pair this guide with the Acrylic Standee Size Guide for Original Characters. Future companion guides can cover sticker file preparation, dakimakura artwork setup, and preparing artwork for custom merch printing.