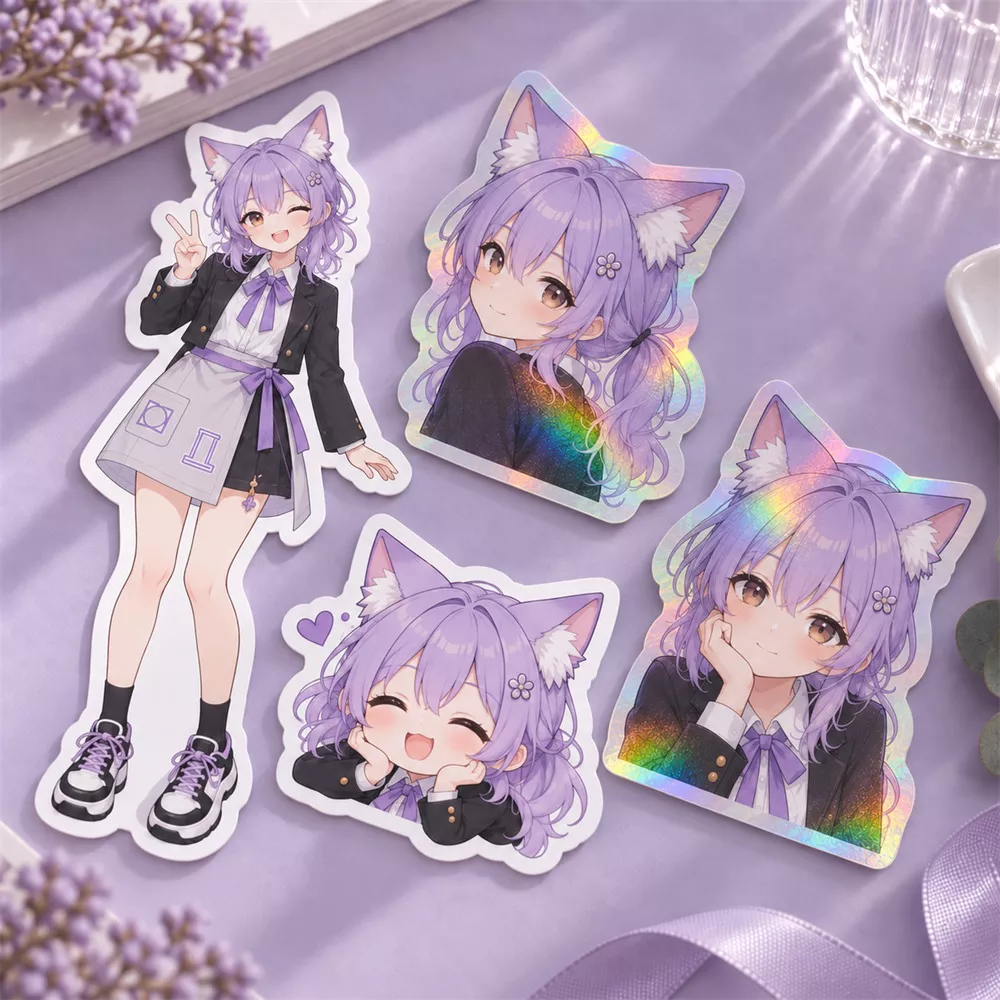
Great sticker art is not only about the illustration. The file needs to leave enough room for the cut edge, keep small details readable, and make sense at the final physical size. This guide helps original-character creators prepare artwork for custom stickers without turning a clean design into a last-minute production puzzle.
Furola Sticker options currently include 5, 10, 15, and 20 cm, plus Custom Size. Available material choices are Transparent PVC Sticker and Laser Sticker, selected on the product page. The right file setup lets your design make the most of either option.
Start with the final sticker size
Do not judge the artwork only at 100% on a large monitor. A 5 cm sticker is best for a simple mascot, a face, a short word, or a clean icon. At 10 cm, a chibi full-body character, a simple pose, and a few supporting shapes become comfortable. Use 15–20 cm when the illustration has a richer silhouette, several characters, or details that deserve to be seen rather than guessed at.
Custom Size is useful when your art has an unusual proportion, but it should still be driven by the character’s readable shape—not by the original canvas dimensions.
Use a clean transparent PNG
Export from your original working file as a transparent PNG. Transparency makes it possible for the final cut shape to follow the character or object cleanly. A plain white rectangle behind the art is rarely the same thing as a deliberate white border.
Keep the editable source file too. If you later decide the design needs a thicker outline or a less crowded pose, adjusting the original layers is far easier than trying to repair a flattened export.
Leave a safe margin around the cut edge
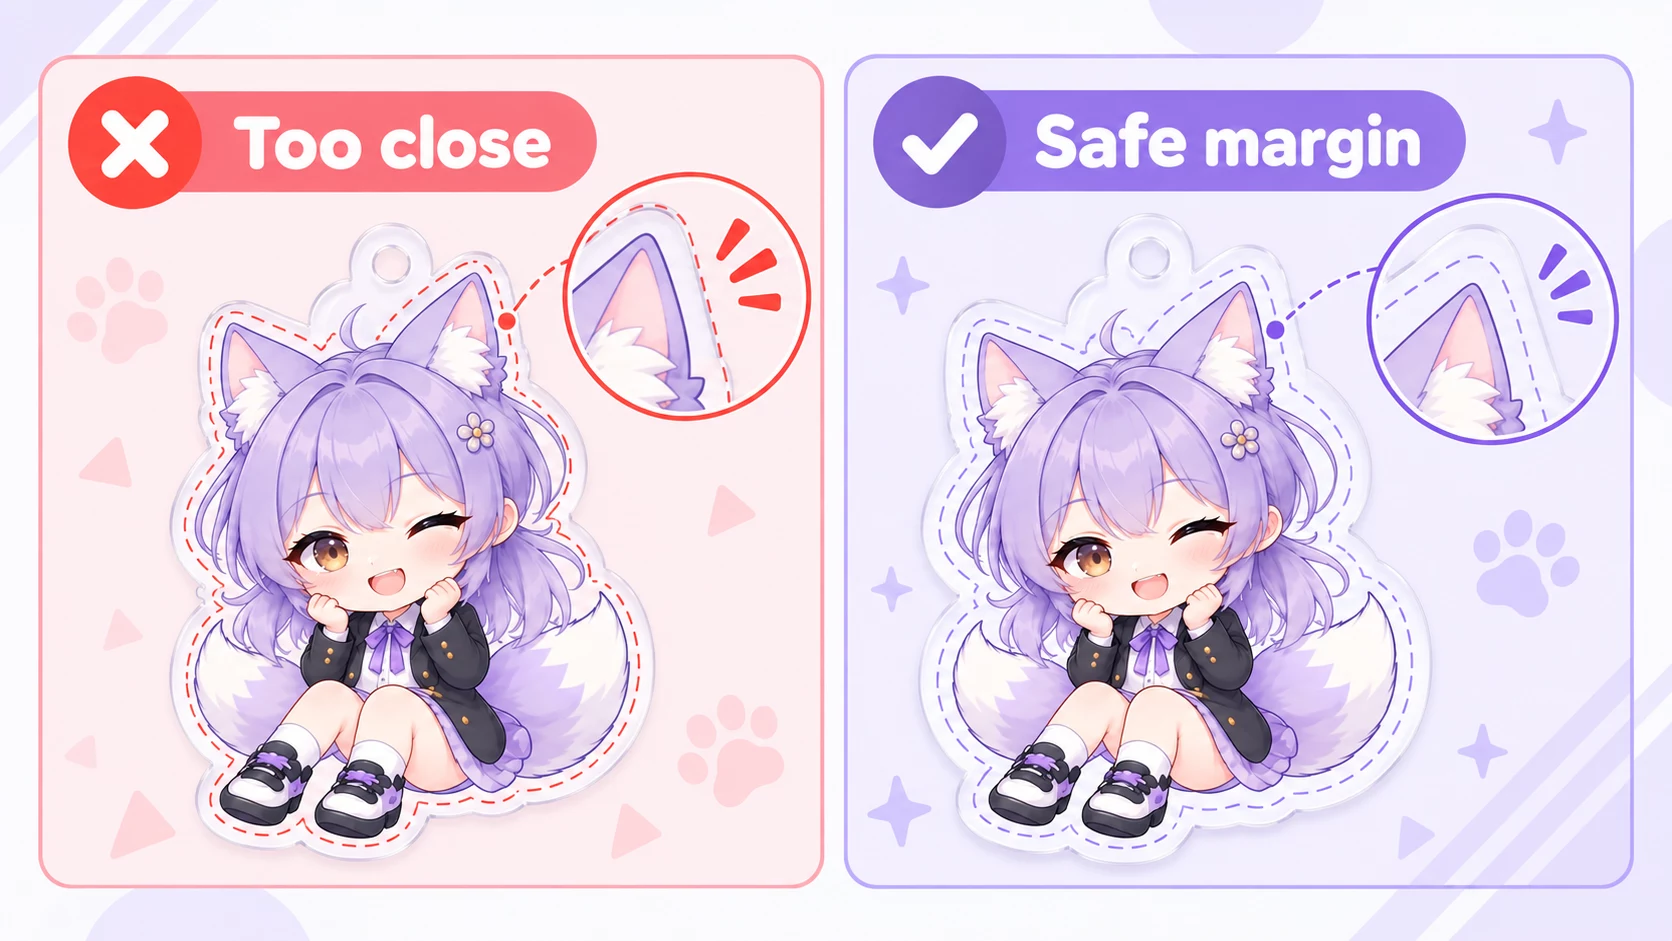
Imagine a calm buffer around the outside of the art. Important facial features, tiny lettering, hair tips, and props should not be pressed against the cut contour. A little breathing room makes a sticker feel intentional, helps the silhouette stay readable, and gives any white outline the space to look clean.
- Keep the outer shape bold and connected where possible.
- Avoid ultra-thin isolated pieces that only exist to preserve a tiny detail.
- Give text and faces more room than decorative background marks.
- Check the design at its intended physical size before export.
White border: frame, not filler
A white border can separate an OC from a busy laptop cover, sketchbook, or water bottle. It also makes a complex character silhouette easier to recognise. Treat it as part of the composition: consistent enough to feel like a frame, but not so large that it overwhelms the art.
Transparent PVC can make the surrounding surface part of the look, while a laser finish can give a more decorative, light-catching direction. In either case, avoid assuming that a pale line will stay obvious against every possible buyer background. Give critical edges enough contrast in the artwork itself.
Small text and fine lines need a reality check
A poster can carry a title, subtitle, date, signature, and a dozen small props. A sticker often cannot. If a line or word matters to the joke or identity of the design, enlarge it or simplify the rest of the composition. A single short word can be charming; a paragraph belongs in the product description, backing card, or social post.
The same goes for delicate lashes, lace, and texture. Preserve the character’s strongest visual signals first: expression, hair shape, costume colour blocks, and a recognisable prop.
Choose artwork that suits the material
Transparent PVC Sticker is a good prompt to think about negative space: which parts of the design should allow the background surface to show through? Laser Sticker is a chance to simplify the composition and let the material’s visual effect support the design rather than compete with it. Select the material in the product options after the file itself is clear and readable.
Pre-order file checklist
- Choose 5 / 10 / 15 / 20 cm or a Custom Size based on the final artwork.
- Confirm you own or have permission to use every element of the submitted design.
- Export a high-resolution transparent PNG from the original source file.
- Keep important art away from the cut edge and check small details at actual size.
- Use a listing mockup that shows buyers the sticker’s proportions and intended finish.
Ready to make a sticker sheet?
Begin with one strong, readable design. Once it works at the smallest intended size, it is much easier to grow it into a sticker set, a preorder bonus, or a complete creator-merch collection.
Explore custom stickers at Furola when your artwork is ready. For matching hard-merch planning, see the Acrylic Keychain Size Guide and Acrylic Standee Size Guide.