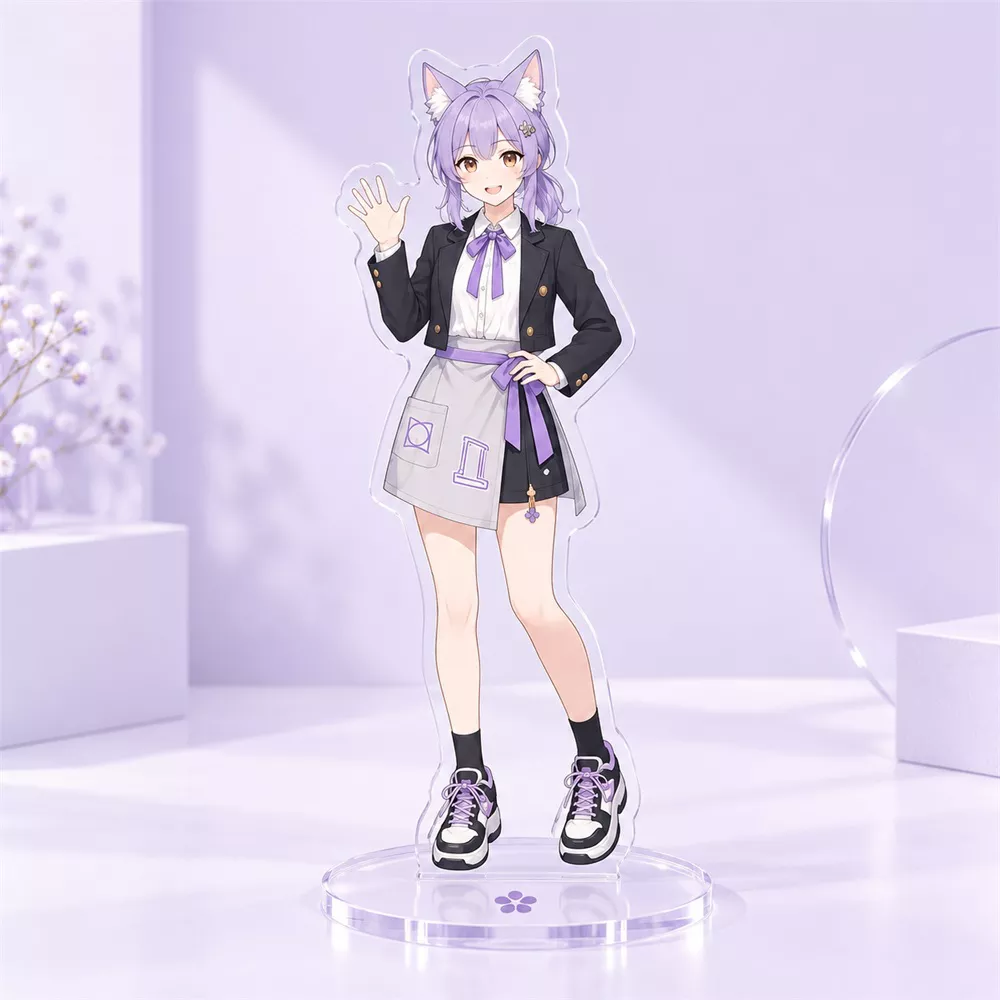
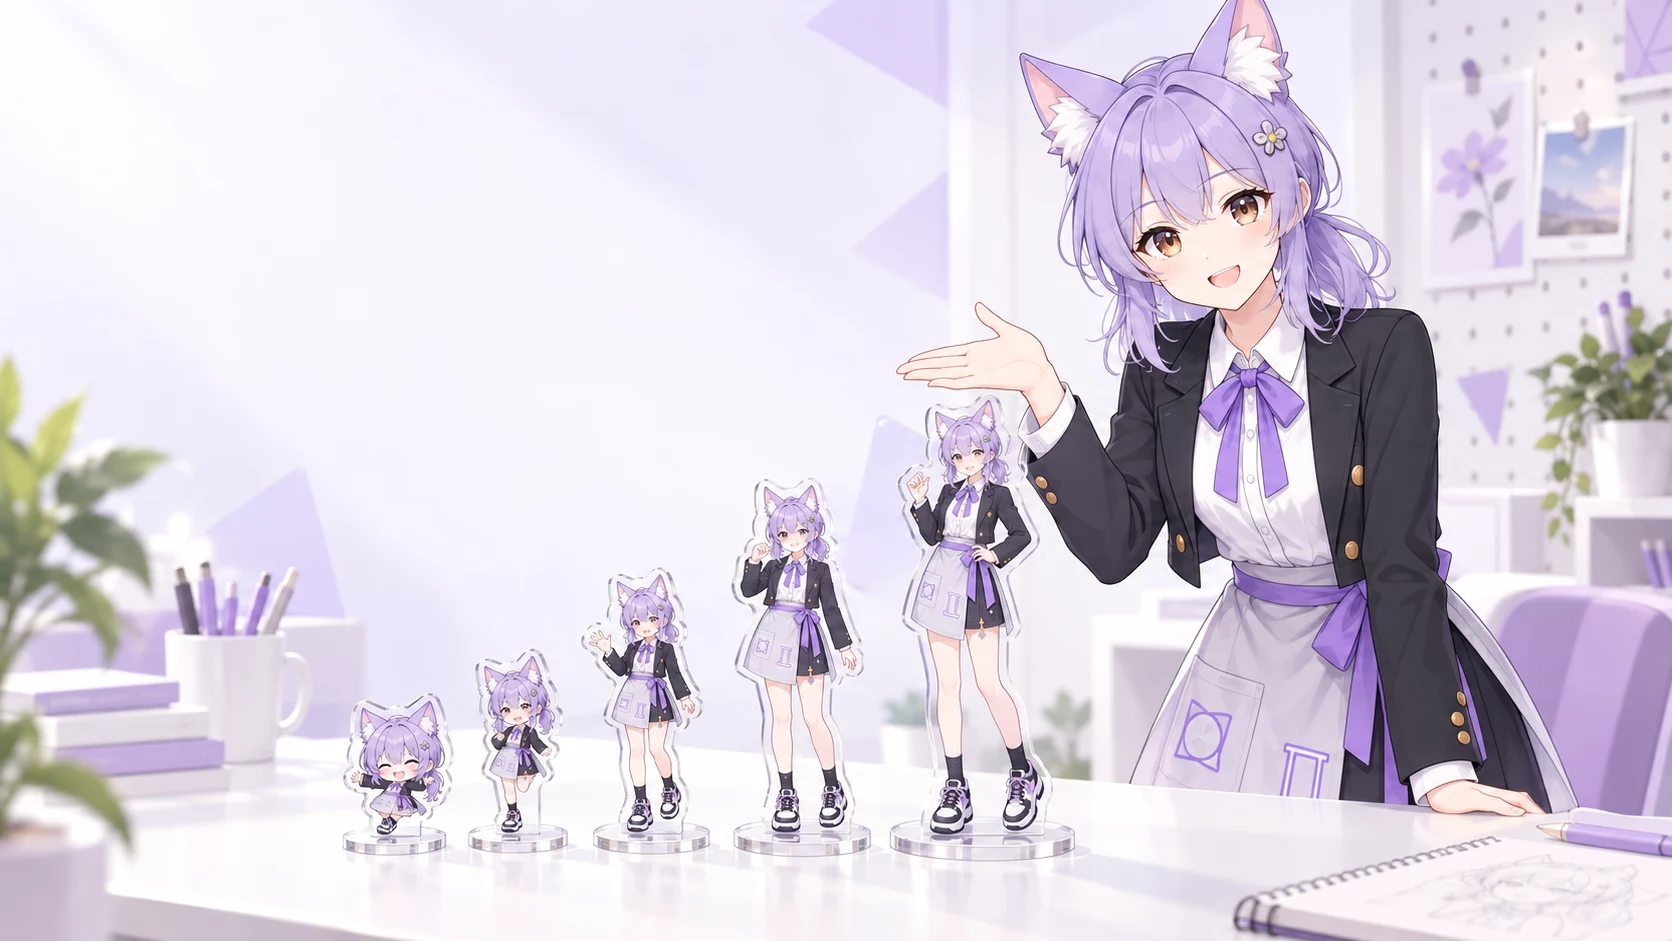
Picking a size for a custom acrylic standee sounds simple until you put the same OC into a 10 cm and a 20 cm version. One feels like a charming desk companion; the other starts to read like a small display piece. Size changes the amount of illustration you can show, the visual weight of the base, how it travels to customers, and how comfortably it fits into a pre-order tier.
This guide is for indie artists, OC creators, and small merch sellers who want a clear starting point before setting up a custom acrylic standee. Think of it as a decision tool, not a rigid rulebook: the right size depends on your art, your audience, and the experience you want people to have when they open the package.
Why acrylic standee size matters more than you think
Standee height is really a composition decision. A full-body pose with flowing hair, a prop, or a wide silhouette needs room to breathe. A portrait-style design can feel unexpectedly strong at a smaller size because the face and expression stay readable. The larger you go, the more visible the little choices become: line weight, shading, tiny lettering, base shape, and the safe space around the cut line.
It also affects how a piece lives on someone’s desk. Smaller standees encourage collecting; mid-size standees are easy to photograph next to keyboards and sketchbooks; larger sizes make an OC feel like the centre of a shelf display. Start with the role you want the item to play, then choose the dimensions.
Size cheat sheet: 10 · 12 · 15 · 18 · 20 cm
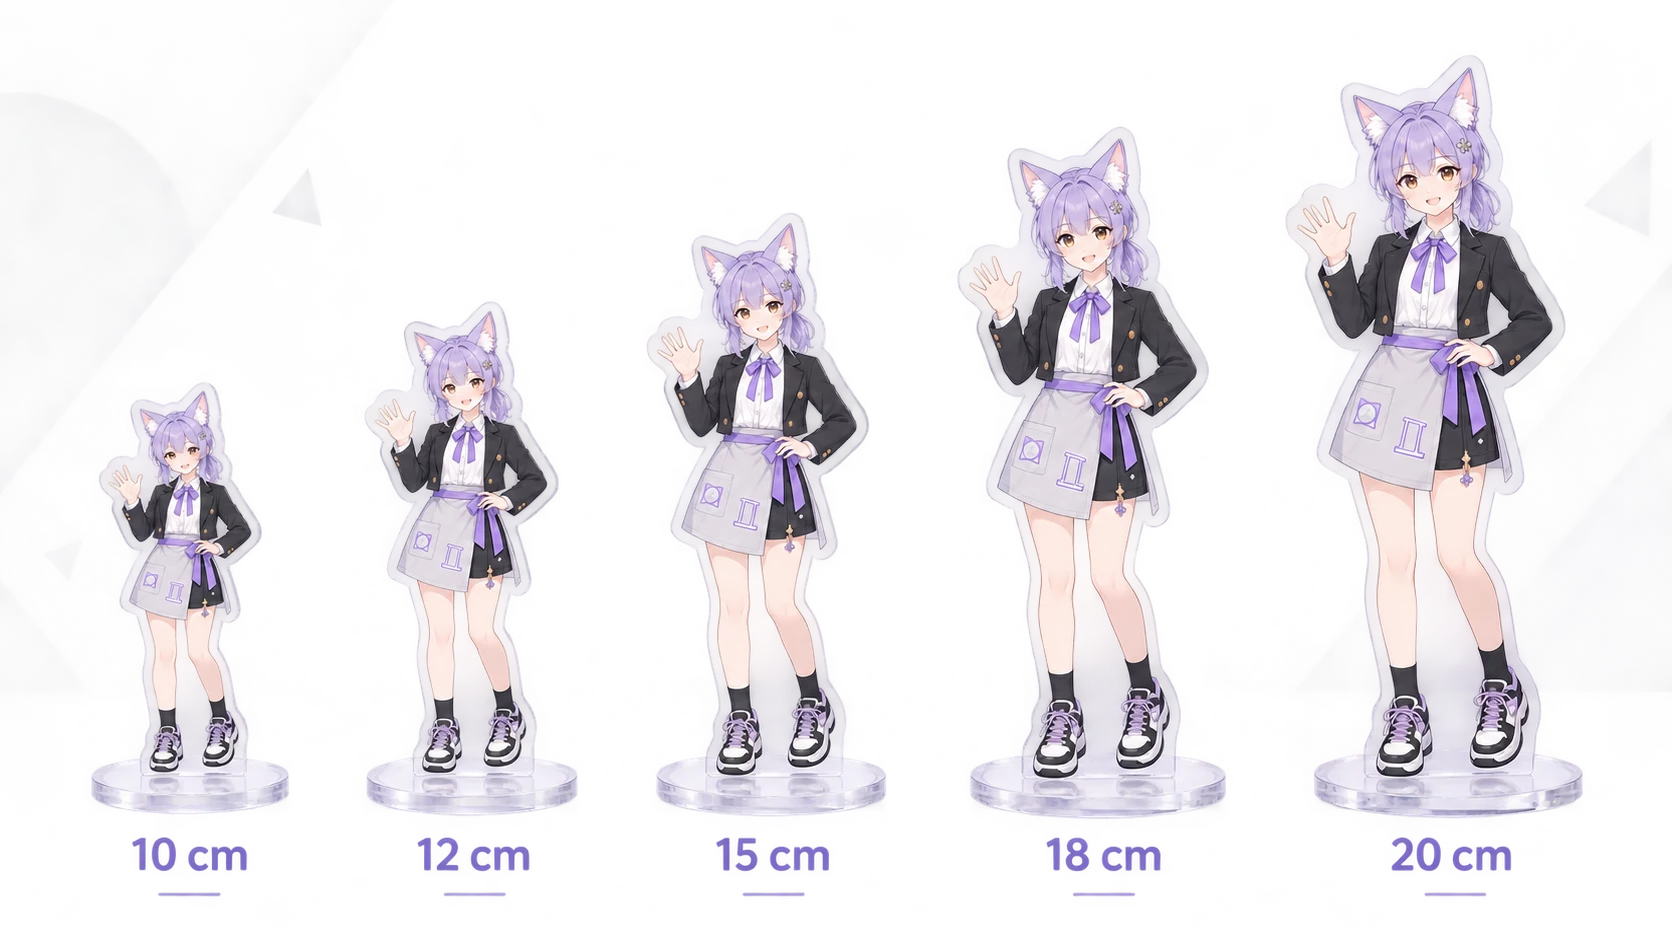
10 cm: small, collectable, easy to bundle
10 cm works beautifully for simple full-body chibis, busts, mascots, and compact poses. It is a comfortable entry tier for an artist’s first merch drop, a convention freebie, or a multi-character set. Keep the design bold: simplify facial details, avoid hairline-thin accessories, and give the silhouette a little extra breathing room.
12 cm: a flexible everyday choice
12 cm is a useful middle ground when 10 cm feels too compact but you still want an approachable price point. Most clean full-body OC artwork reads well here, especially if the character is standing, sitting, or holding one clear prop. It is a friendly size for desk photos and repeat buyers who like building a collection.
15 cm: the reliable hero size
If you are unsure, 15 cm is usually the safest starting point for a main character acrylic standee. It gives a full-body illustration enough room for outfit details and expressive posing without becoming difficult to display. For many small merch sellers, this is the size that feels substantial in hand while remaining easy to package and ship.
18 cm: for detail and stronger display presence
Choose 18 cm when the pose has more negative space, a dramatic coat or cape, layered hair, or a detailed outfit. This size gives your artwork a more premium shelf presence. It is also a good choice for a limited-edition variant or a pre-order reward where you want the upgrade to feel immediately visible.
20 cm: a statement piece
20 cm is for the illustration you want people to notice first. It suits special outfits, anniversary art, paired characters, elaborate bases, and designs intended to be the centrepiece of a collection. Check the balance carefully: a tall narrow character may need a broader base or a more stable pose than a compact 10 cm design.
Full-body versus half-body artwork
Full-body art naturally benefits from 12–15 cm and above. You need enough height to keep the head, hands, shoes, and clothing details from competing with each other. For a full-body OC with a quiet standing pose, 12 cm can be lovely; for a detailed outfit or a more open pose, 15 cm is often more forgiving.
Half-body art, busts, and close portraits can work at 10–12 cm because the face becomes the visual focus. If you are using a close crop, make sure the cut contour looks intentional rather than accidentally chopped. A small supporting shape—like a frame, a halo, a desk, or a graphic background element—can make the base connection feel more natural.
Give the base some thought
The base is part of the design, not an afterthought. A calm upright pose with a compact outline can use a simple base. A character leaning, holding a large prop, or extending an arm outward may need a wider footprint to feel visually and physically balanced. Keep important linework away from the join between the figure and the base, and avoid extremely narrow points near the feet.
When the standee is produced, the artwork is printed in the middle of clear acrylic, with transparent acrylic visible on both sides. That construction gives the piece a luminous, polished look from either viewing direction instead of treating one face as the only “front.” Smooth, carefully finished edges help the silhouette feel clean in hand.
File prep that actually survives acrylic
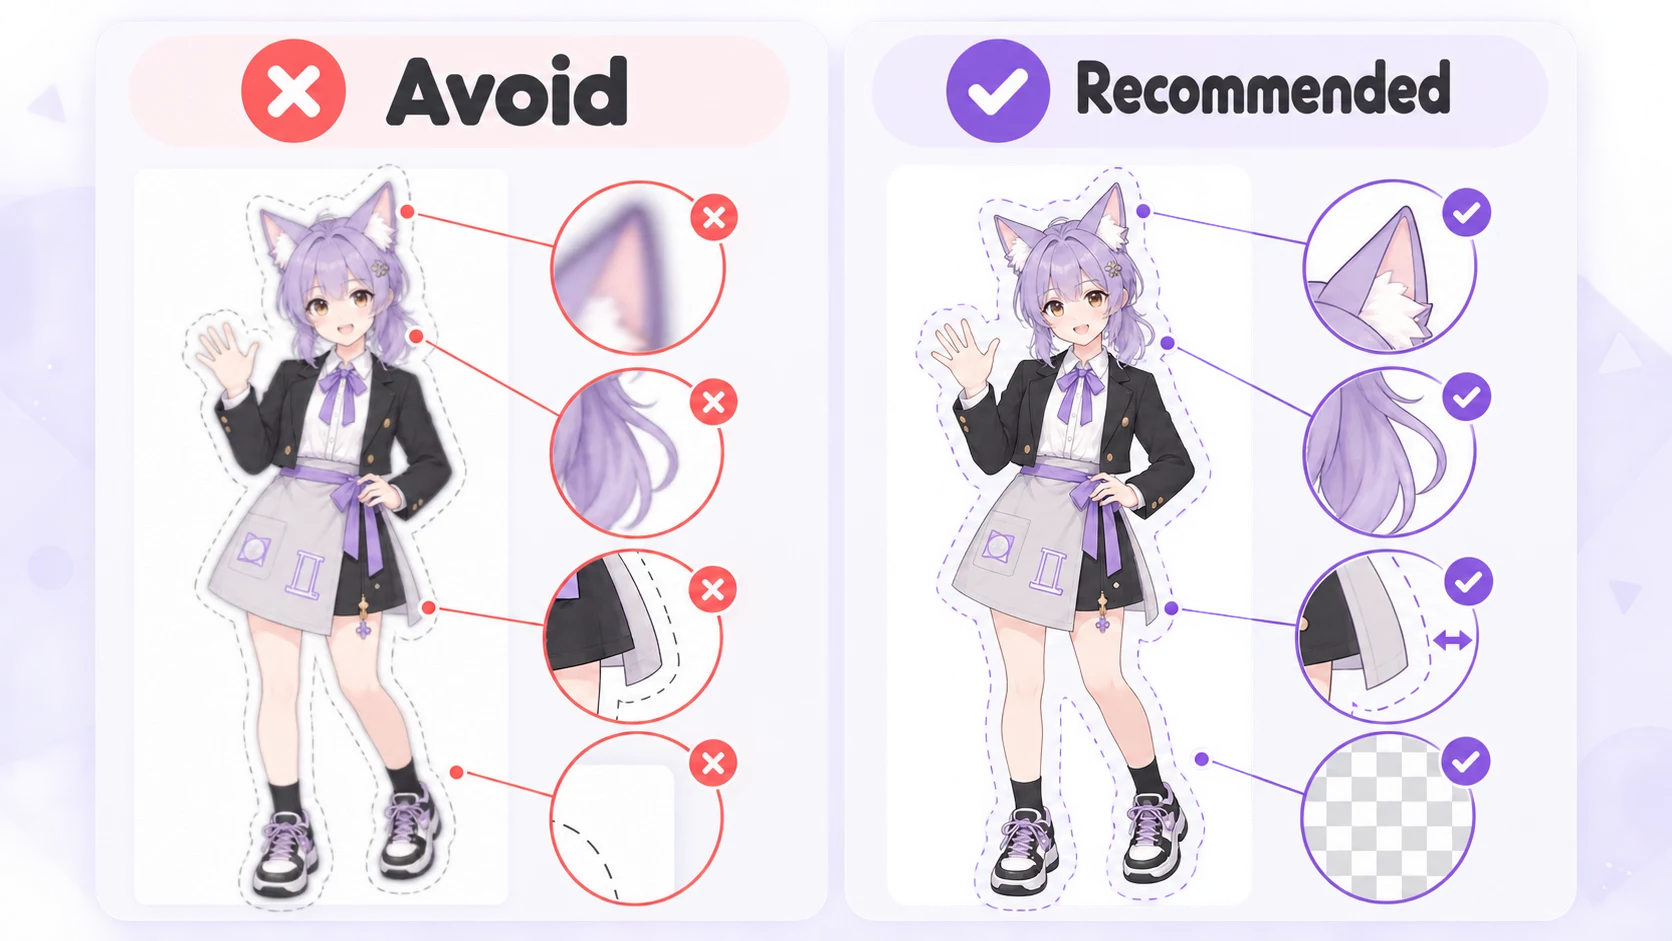
Use a transparent PNG
Export the final artwork as a PNG with a transparent background whenever possible. A solid white rectangle around the character can become an unwanted part of the printed result. Transparency also makes it easier to judge the proposed cut line and spot any stray pixels before you submit.
Work at a comfortable resolution
Do not build the final art at the exact on-screen size of your shop preview. Start from a high-resolution canvas, then inspect it at the actual product size. Fine texture can be charming, but details that are only one or two pixels wide may not have enough visual strength once reduced. Crisp edges and a confident silhouette are much more valuable than adding tiny decoration everywhere.
Leave a safe margin around the cut line
Keep faces, fingertips, key text, and delicate outlines away from the outer contour. A small safe margin gives the cut line room to follow the character without crowding important details. If a design relies on very thin separate pieces—such as a floating strand of hair or a narrow weapon—consider connecting it to the main silhouette with a deliberate graphic shape.
Packaging: what your customer receives
Each Furola acrylic standee is individually packed in a translucent protective bag. The acrylic surface is also covered by a clear protective film. Make the peel-off step part of your customer note: the film should be removed after arrival so the smooth, clear surface can show properly.
For dispatch, individual pieces are placed inside a darker outer mailer. This keeps the delivery presentation tidy while the inner translucent packaging protects the standee on the way to its new desk or shelf. For a larger pre-order, it is worth planning your unboxing card or thank-you note around this simple sequence.
Common mistakes to avoid
- Picking 10 cm for art that is packed with costume detail. Scale up to 15 cm or simplify the illustration.
- Letting the cut line touch important features. Leave room around the face, hands, lettering, and small accessories.
- Using very thin, detached details. Strengthen the silhouette or connect fragile areas intentionally.
- Forgetting the base. Review the pose from a balance perspective before finalising the cut.
- Leaving the protective film on. Add a friendly reminder in your product listing or packing insert.
A quick pre-order checklist
- Choose the standee’s job: collectable, desk companion, main character piece, or premium display.
- Match the size to the art: 10–12 cm for compact artwork, 15 cm as a reliable default, 18–20 cm for detailed statement pieces.
- Check the silhouette and base at actual size.
- Export a high-resolution transparent PNG and inspect the edges.
- Confirm you have the rights or permissions needed for every artwork element you submit.
- Tell customers about the protective film and the individually packed presentation.
Ready to turn your OC into a standee?
Once your artwork and size are decided, Furola can be the production partner behind the physical piece. Our custom acrylic standee is available in 10, 12, 15, 18, and 20 cm options, so you can make a small collectable run or a larger character display without changing the core idea of the artwork.
Start with the clearest version of your OC, give the cut line room to do its job, and let the final standee feel like something your audience will want to keep in view.
Helpful guides to add next
This article should later link to Dakimakura File Prep Guide, Acrylic Keychain Size Guide, Sticker File Prep Guide, and How to Prepare Artwork for Custom Merch Printing. These pages do not exist yet, so they are intentionally not linked in this draft.