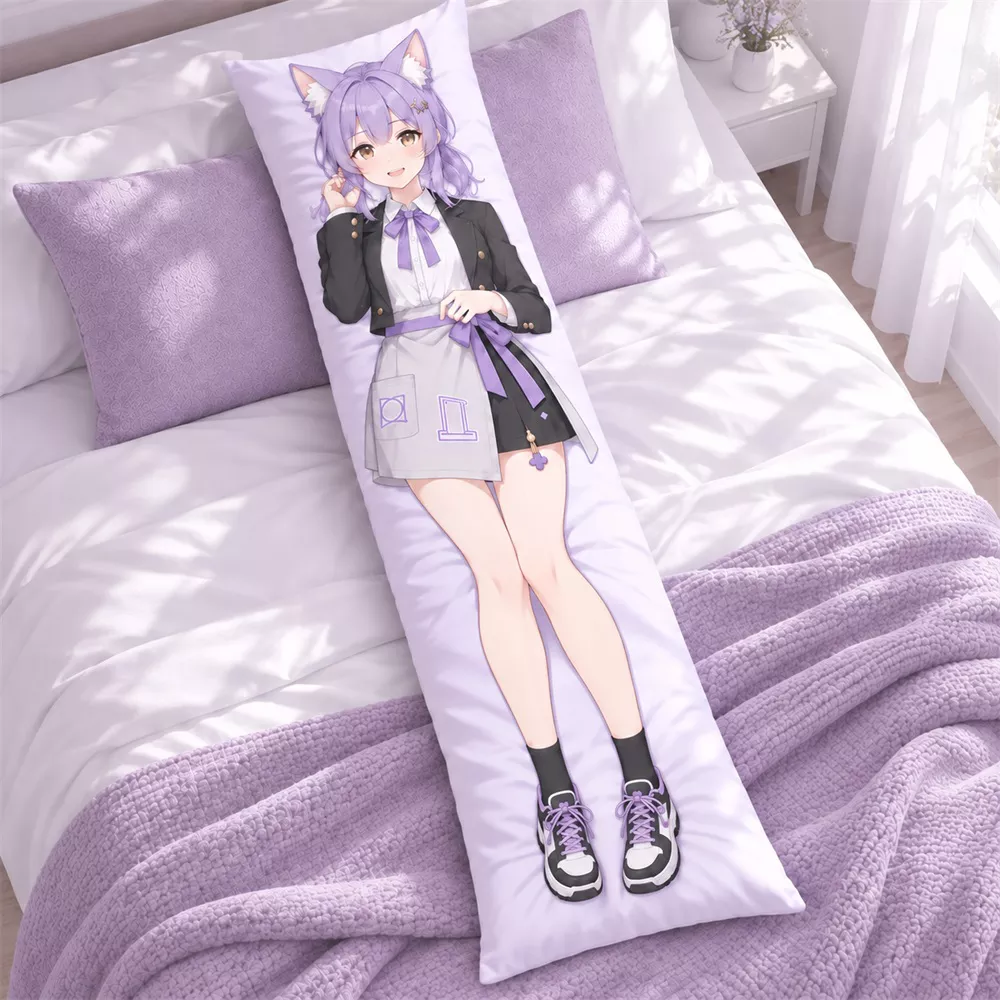
A dakimakura cover is not a poster split down the middle. It is a two-sided textile product that wraps around a pillow insert, so the artwork needs room to breathe, the two sides need to stay organised, and the final file needs to hold up at full size. This guide walks original-character creators through a clean, practical setup for a custom Furola dakimakura.
For most creators, we recommend starting with 50 × 150 cm or 60 × 180 cm. Both give full-body artwork enough presence; 60 × 180 cm is the stronger choice when the composition relies on a longer silhouette, detailed costume, or a little more negative space around the character.
Start with two files: Side A and Side B
A dakimakura is double-sided. Prepare one finished design for the front and one for the back, then name them clearly from the beginning:
- YourCharacter_Side-A
- YourCharacter_Side-B
Keep both sides at exactly the same canvas size and resolution. Do not mirror a file unless the artwork itself is meant to be mirrored. Before export, check the viewing direction: letters, accessories, asymmetrical hair, and hands are the details most likely to reveal an accidental flip.
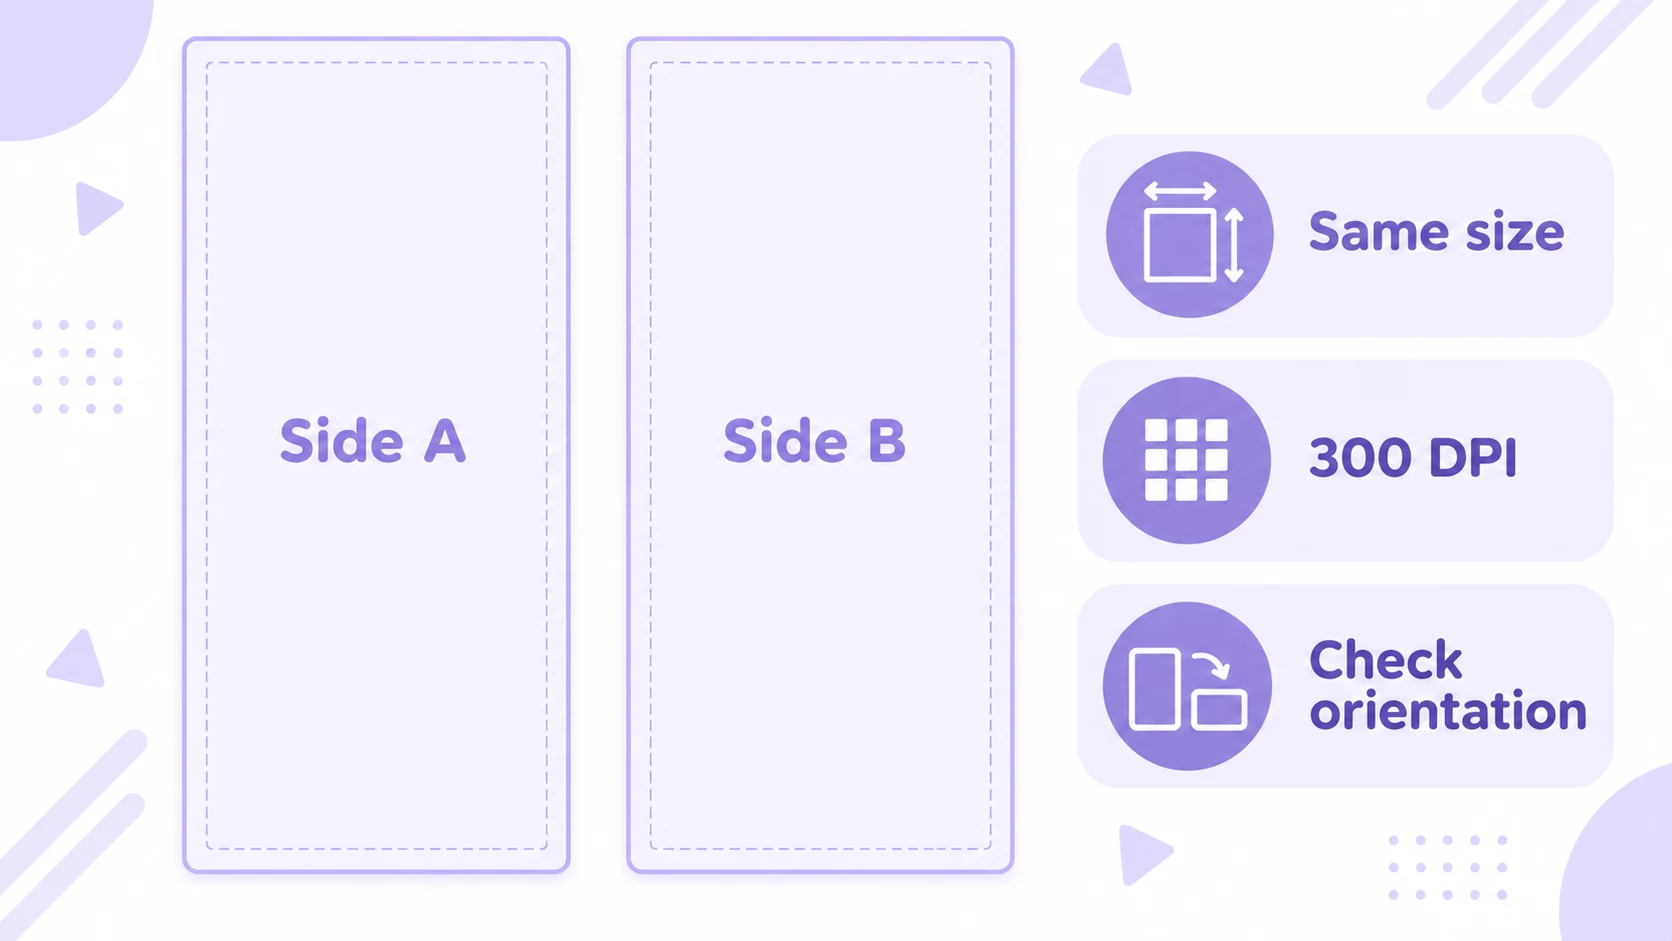
Use 300 DPI at the final print size
Build the document at the intended physical dimensions and 300 DPI. Do not start from a small social-media image and enlarge it at the end; enlarging cannot restore missing artwork detail. A high-resolution original helps smooth gradients, fine linework, facial features, and colour transitions print more cleanly across the full cover.
For a 50 × 150 cm or 60 × 180 cm cover, work at the final size from the beginning. If your computer struggles with a large working file, keep the layered source organised and avoid repeatedly flattening and re-saving a compressed image.
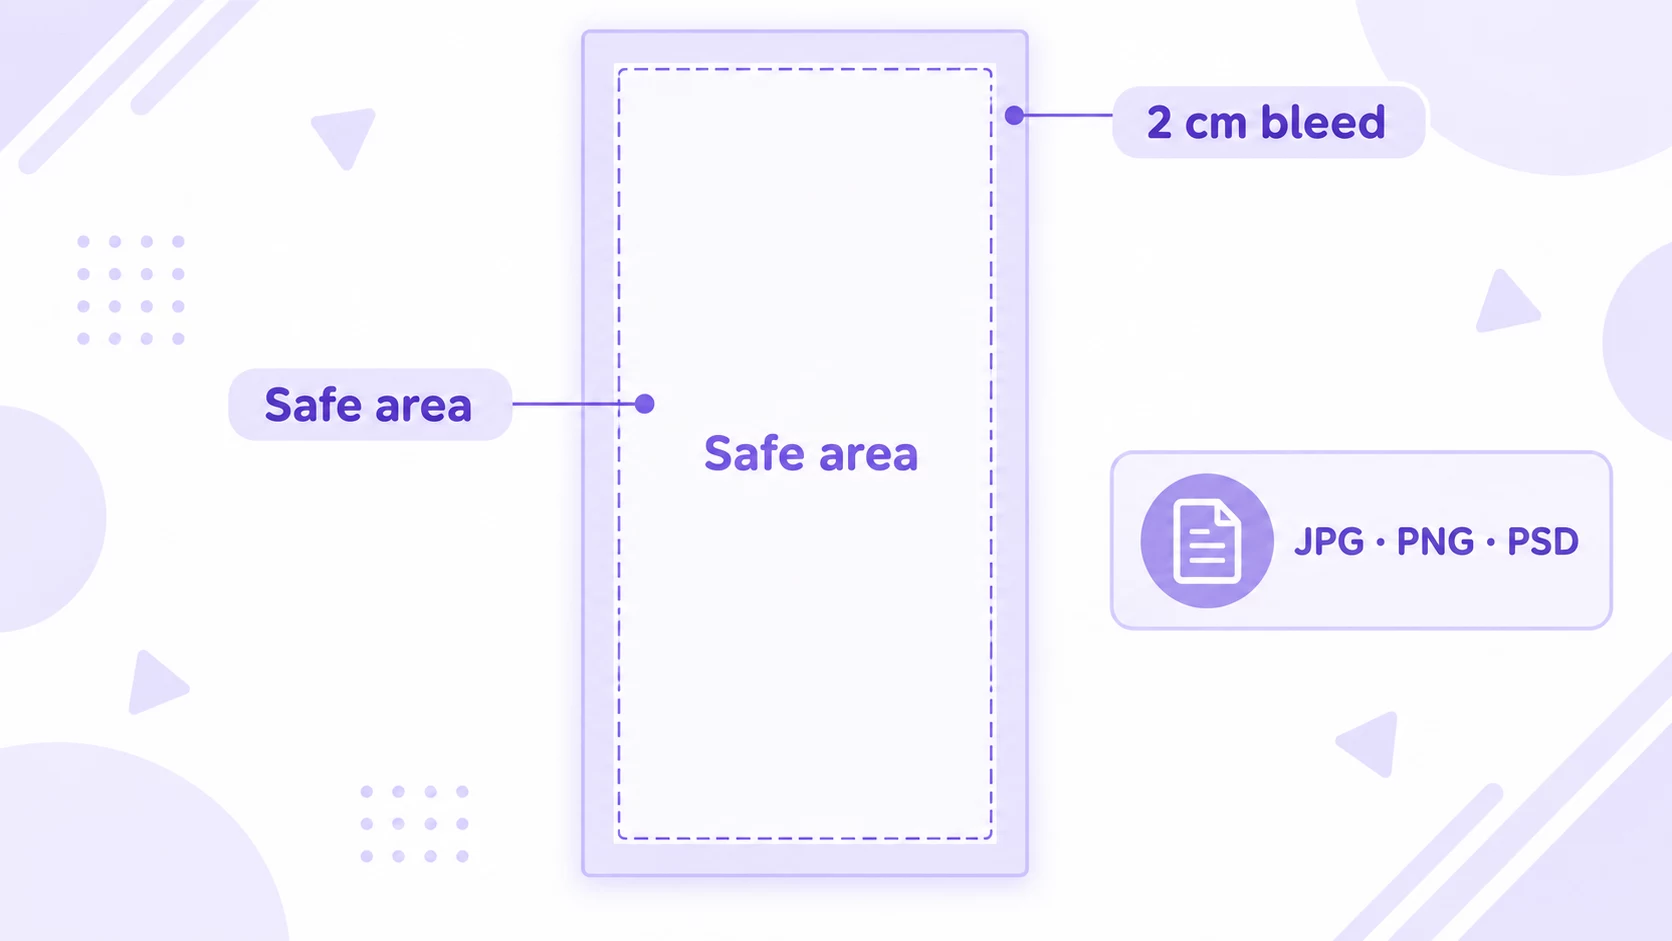
Add a 2 cm bleed (52×152 cm canvas for a 50×150 cm cover)
Add a 2 cm bleed to the finished size — 1 cm on each side. For example, if you are ordering the 50×150 cm cover, build your canvas at 52×152 cm (at 300 DPI).
Bleed is not a place for important information. Let backgrounds, colour fields, soft texture, or non-critical decorative shapes continue into it. Keep faces, signatures, tiny text, hands, and key costume details comfortably inside the safe visible area. This gives the artwork tolerance around sewing and finishing without making the final composition feel cramped.
Choose a composition that works on fabric
Full-body characters tend to work beautifully on dakimakura covers, but they still need a little distance from the edges. A pose with clear negative space around the hair, feet, and hands will usually read better than one that pushes every detail to the border. Avoid placing crucial facial features or text across the visual centre seam area.
For a paired A/B design, think of the two sides as a set rather than two unrelated posters. You can change the expression, pose, or outfit while keeping a related palette, lighting direction, or background treatment. It makes the final cover feel intentional when it is turned over.
Accepted file formats: JPG, PNG, or PSD
You can send final artwork as a high-quality JPG or PNG. If you prefer to preserve editable layers, you may also send a PSD. A PSD is especially helpful when there are separate text, effect, or background layers that may need clarification before production.
- Use JPG or PNG for a ready-to-print, final flattened file.
- Use PSD when you want to retain layers; label the file and layers clearly.
- Do not submit a low-resolution preview, screenshot, or a file exported only for web sharing.
Pick a fabric after the artwork is ready
Furola offers four fabric directions: Peach Skin, Plush, 2 WAY, and New 2 WAY. Select the one that fits the feel you want for the finished cover, then review the available product options before checkout. Your artwork should remain readable on any choice: do not rely on faint lines, extremely subtle contrast, or tiny text to carry the design.
Preview both sides online before you submit
Before sending your files, use the Furola Dakimakura Mockup tool to upload Side A and Side B together. It lets you view the two designs in one workflow, check whether the pairing feels balanced, and spot a mirrored image or unexpected crop before production.
The mockup is a visual check, not a replacement for the 300 DPI production file. Use it to review the composition, then submit the correctly sized JPG, PNG, or PSD files with the required bleed.
Submission checklist
- Choose your intended finished size — 50 × 150 cm or 60 × 180 cm are recommended starting points.
- Prepare a clearly named Side A and Side B file at the same dimensions.
- Work at 300 DPI at the final print size.
- Include a 2 cm bleed (e.g. 52×152 cm canvas for a 50×150 cm cover); keep important details inside the safe area.
- Export a high-quality JPG or PNG, or provide a well-organised PSD.
- Review the A/B pair in the Dakimakura Mockup tool.
- Confirm you own or have permission to use all submitted artwork.
Ready to turn an OC into a dakimakura?
A well-prepared double-sided cover is one of the most satisfying ways to give character art physical scale. Start with a clean 300 DPI file, protect the edges with a 2 cm bleed, preview both sides together, and let the fabric choice support—not rescue—the composition.
Explore custom dakimakura covers at Furola when your Side A and Side B files are ready. For additional merch planning, see the Acrylic Standee Size Guide and Acrylic Keychain Size Guide.
New to the ordering process? Follow our step-by-step guide to ordering a custom dakimakura with your own art.